Mahk-1: The First Iron Blunder
An accidental baby-sized Iron Man helmet turned into a surprisingly fun and educational prototype. Here's how Mahk-1 came to life and turned into my prototype post.

✨ Mahk-1: The First Iron Blunder 🛠️
From a genius idea to tiny disaster… 😎 then back to a genius idea
So here we go. I decided to build an Iron Man helmet, wearable, motorized, maybe even voice-controlled someday. That was the dream anyway.
The reality? I built it so small, even my little sister gave up trying to wear it. Yep. Mahk-1 was born… and it’s adorable.
But instead of crying over shrunk tech, I decided to embrace the chaos and turn this little accident into my first documented prototype post. Let’s dive in!
🔧 Inspiration & Template
The whole thing started with me being obsessed with tech and cool stuff. I recently rewatched the Ironman movies and coincientally stumbled upon a YouTube video (I’ll properly attribute the legend below).
They shared a printable cardboard helmet template, designed to be cut out, curved, and assembled into a 3D shape - kind of like real-world papercraft meets Blender’s UV unwrapping.
Template used: DL_MK4_Helmet_Single
Channel credited: DaliLomo DIY
🧩 The Build
a.k.a. Cardboard Origami, But With Blood, Sweat & Glue
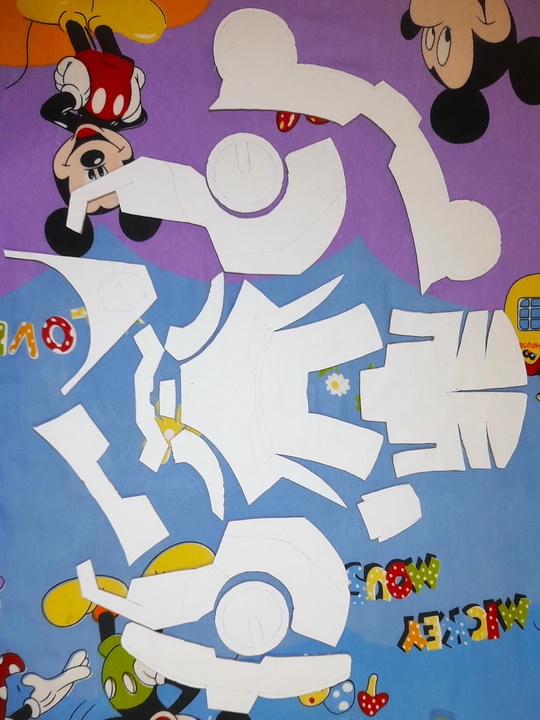
As a newbie to this stuff, my inner Tony Stark met reality fast. The template gave me flat 2D shapes, and it was my job to curve, bend, and force them into a 3D structure like a janky transformer.
This process is called UV unwrapping in Blender (yes, the same stuff used in 3D modeling). And when you lay out any 3D closed shape as a flat surface, voila - that’s how Pepakura Designer works too.
I cut the pieces, curved them like physics questions curve my brain, and joined them together using glue and tape one-by-one like a poor man’s nanotech.
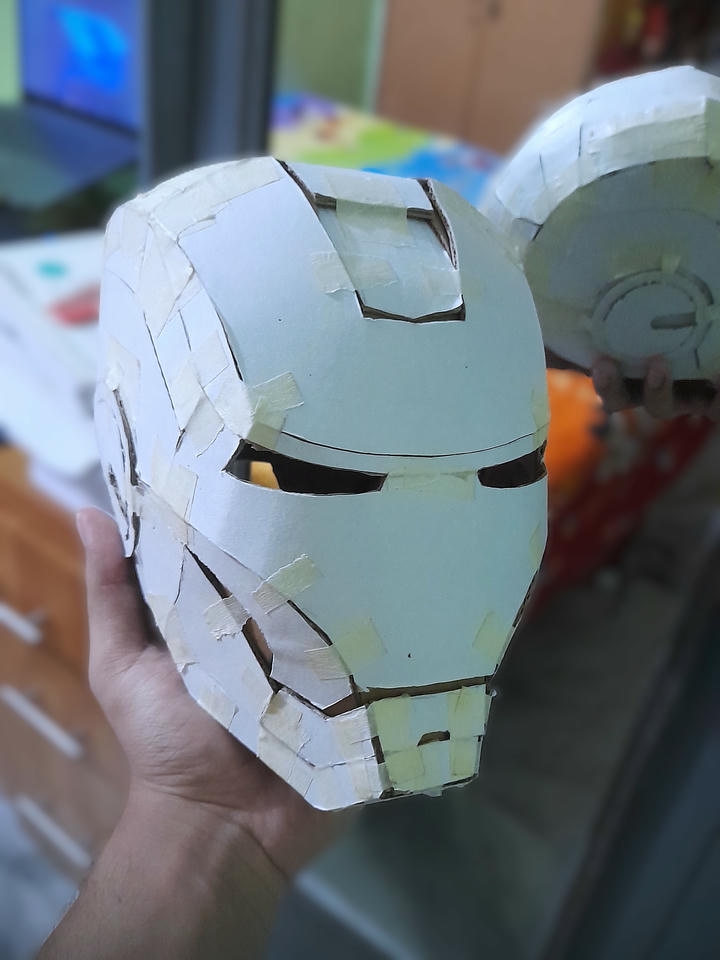
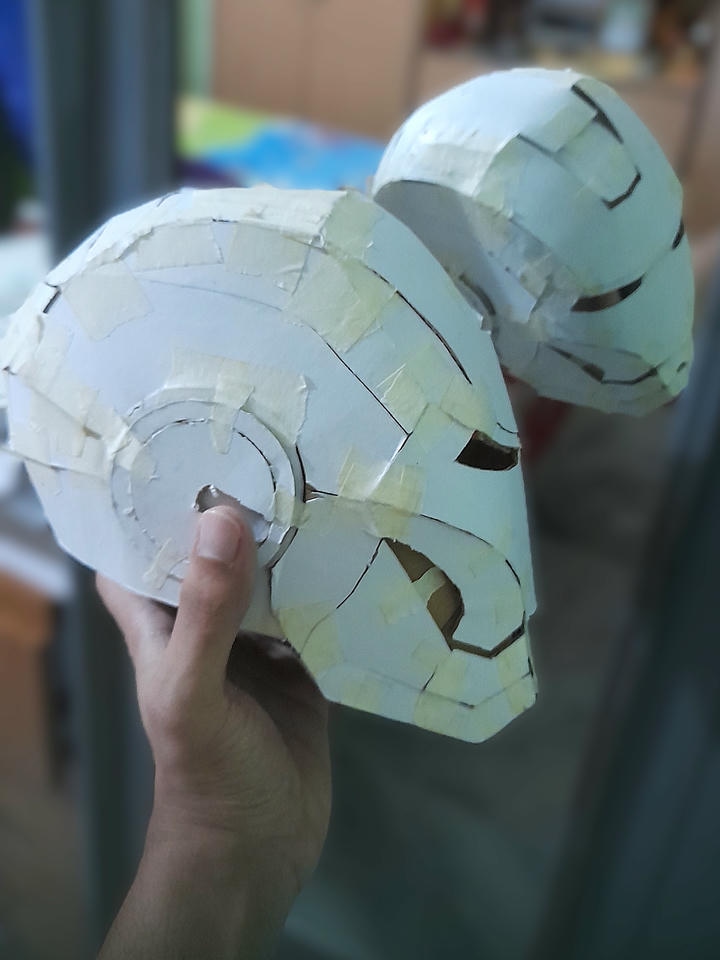
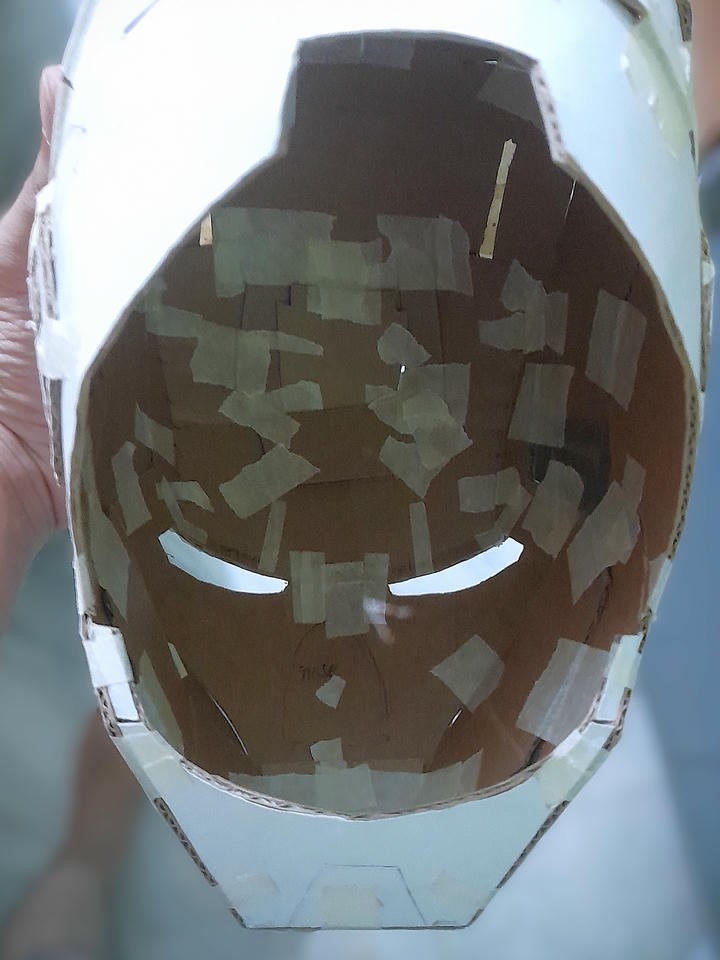
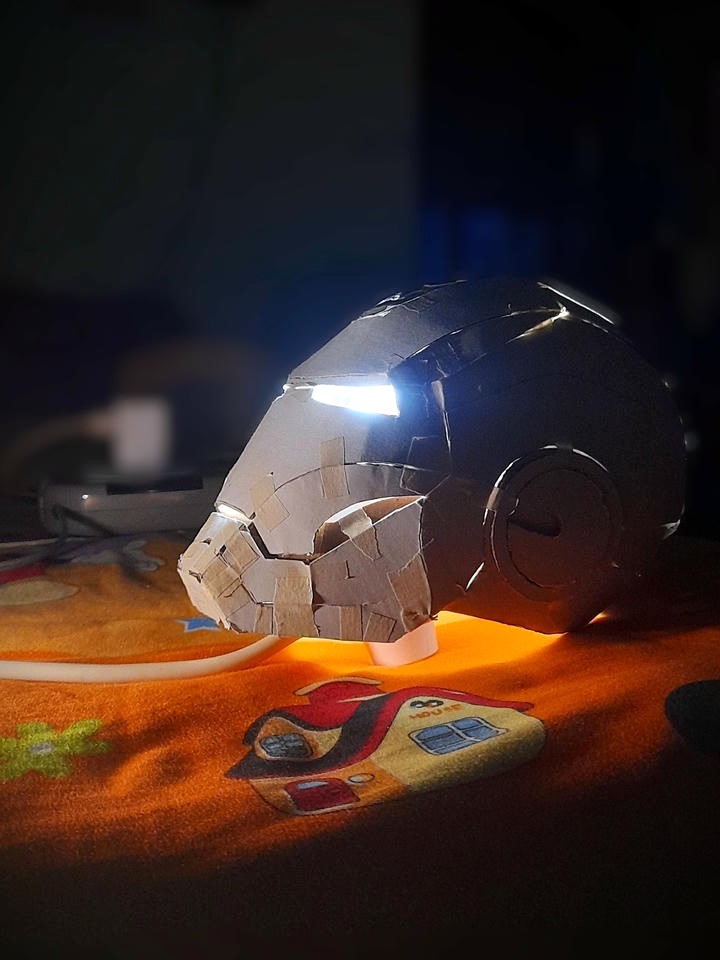
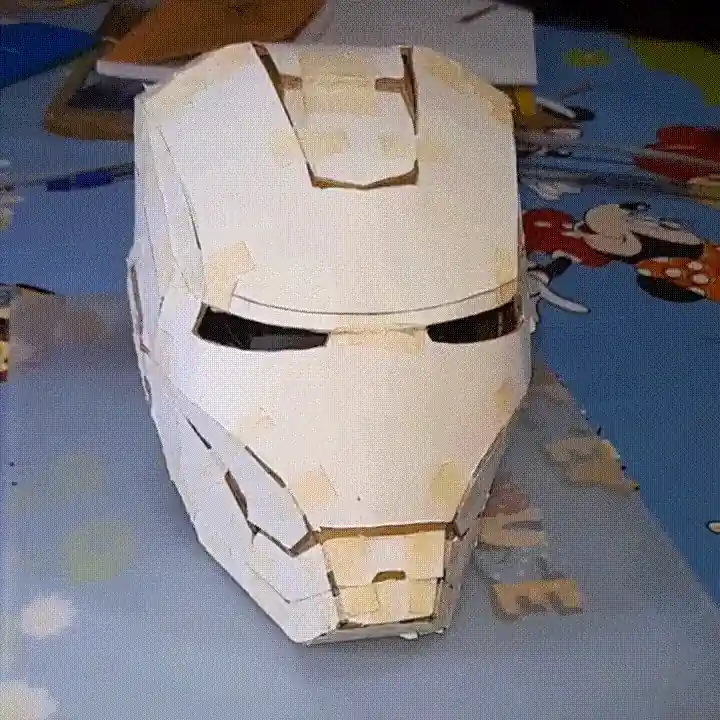
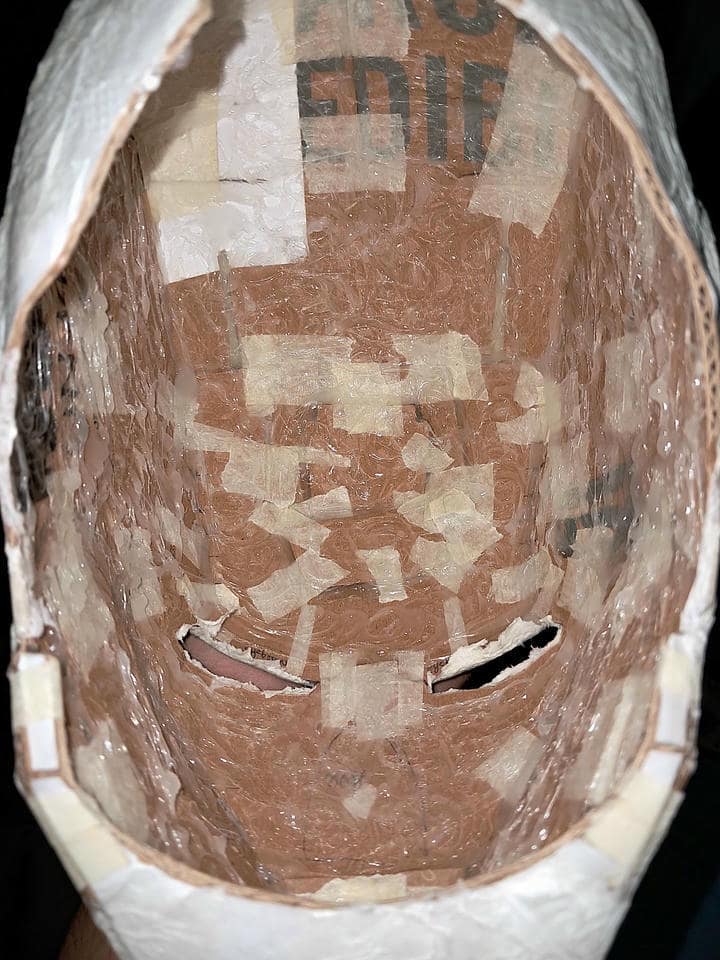
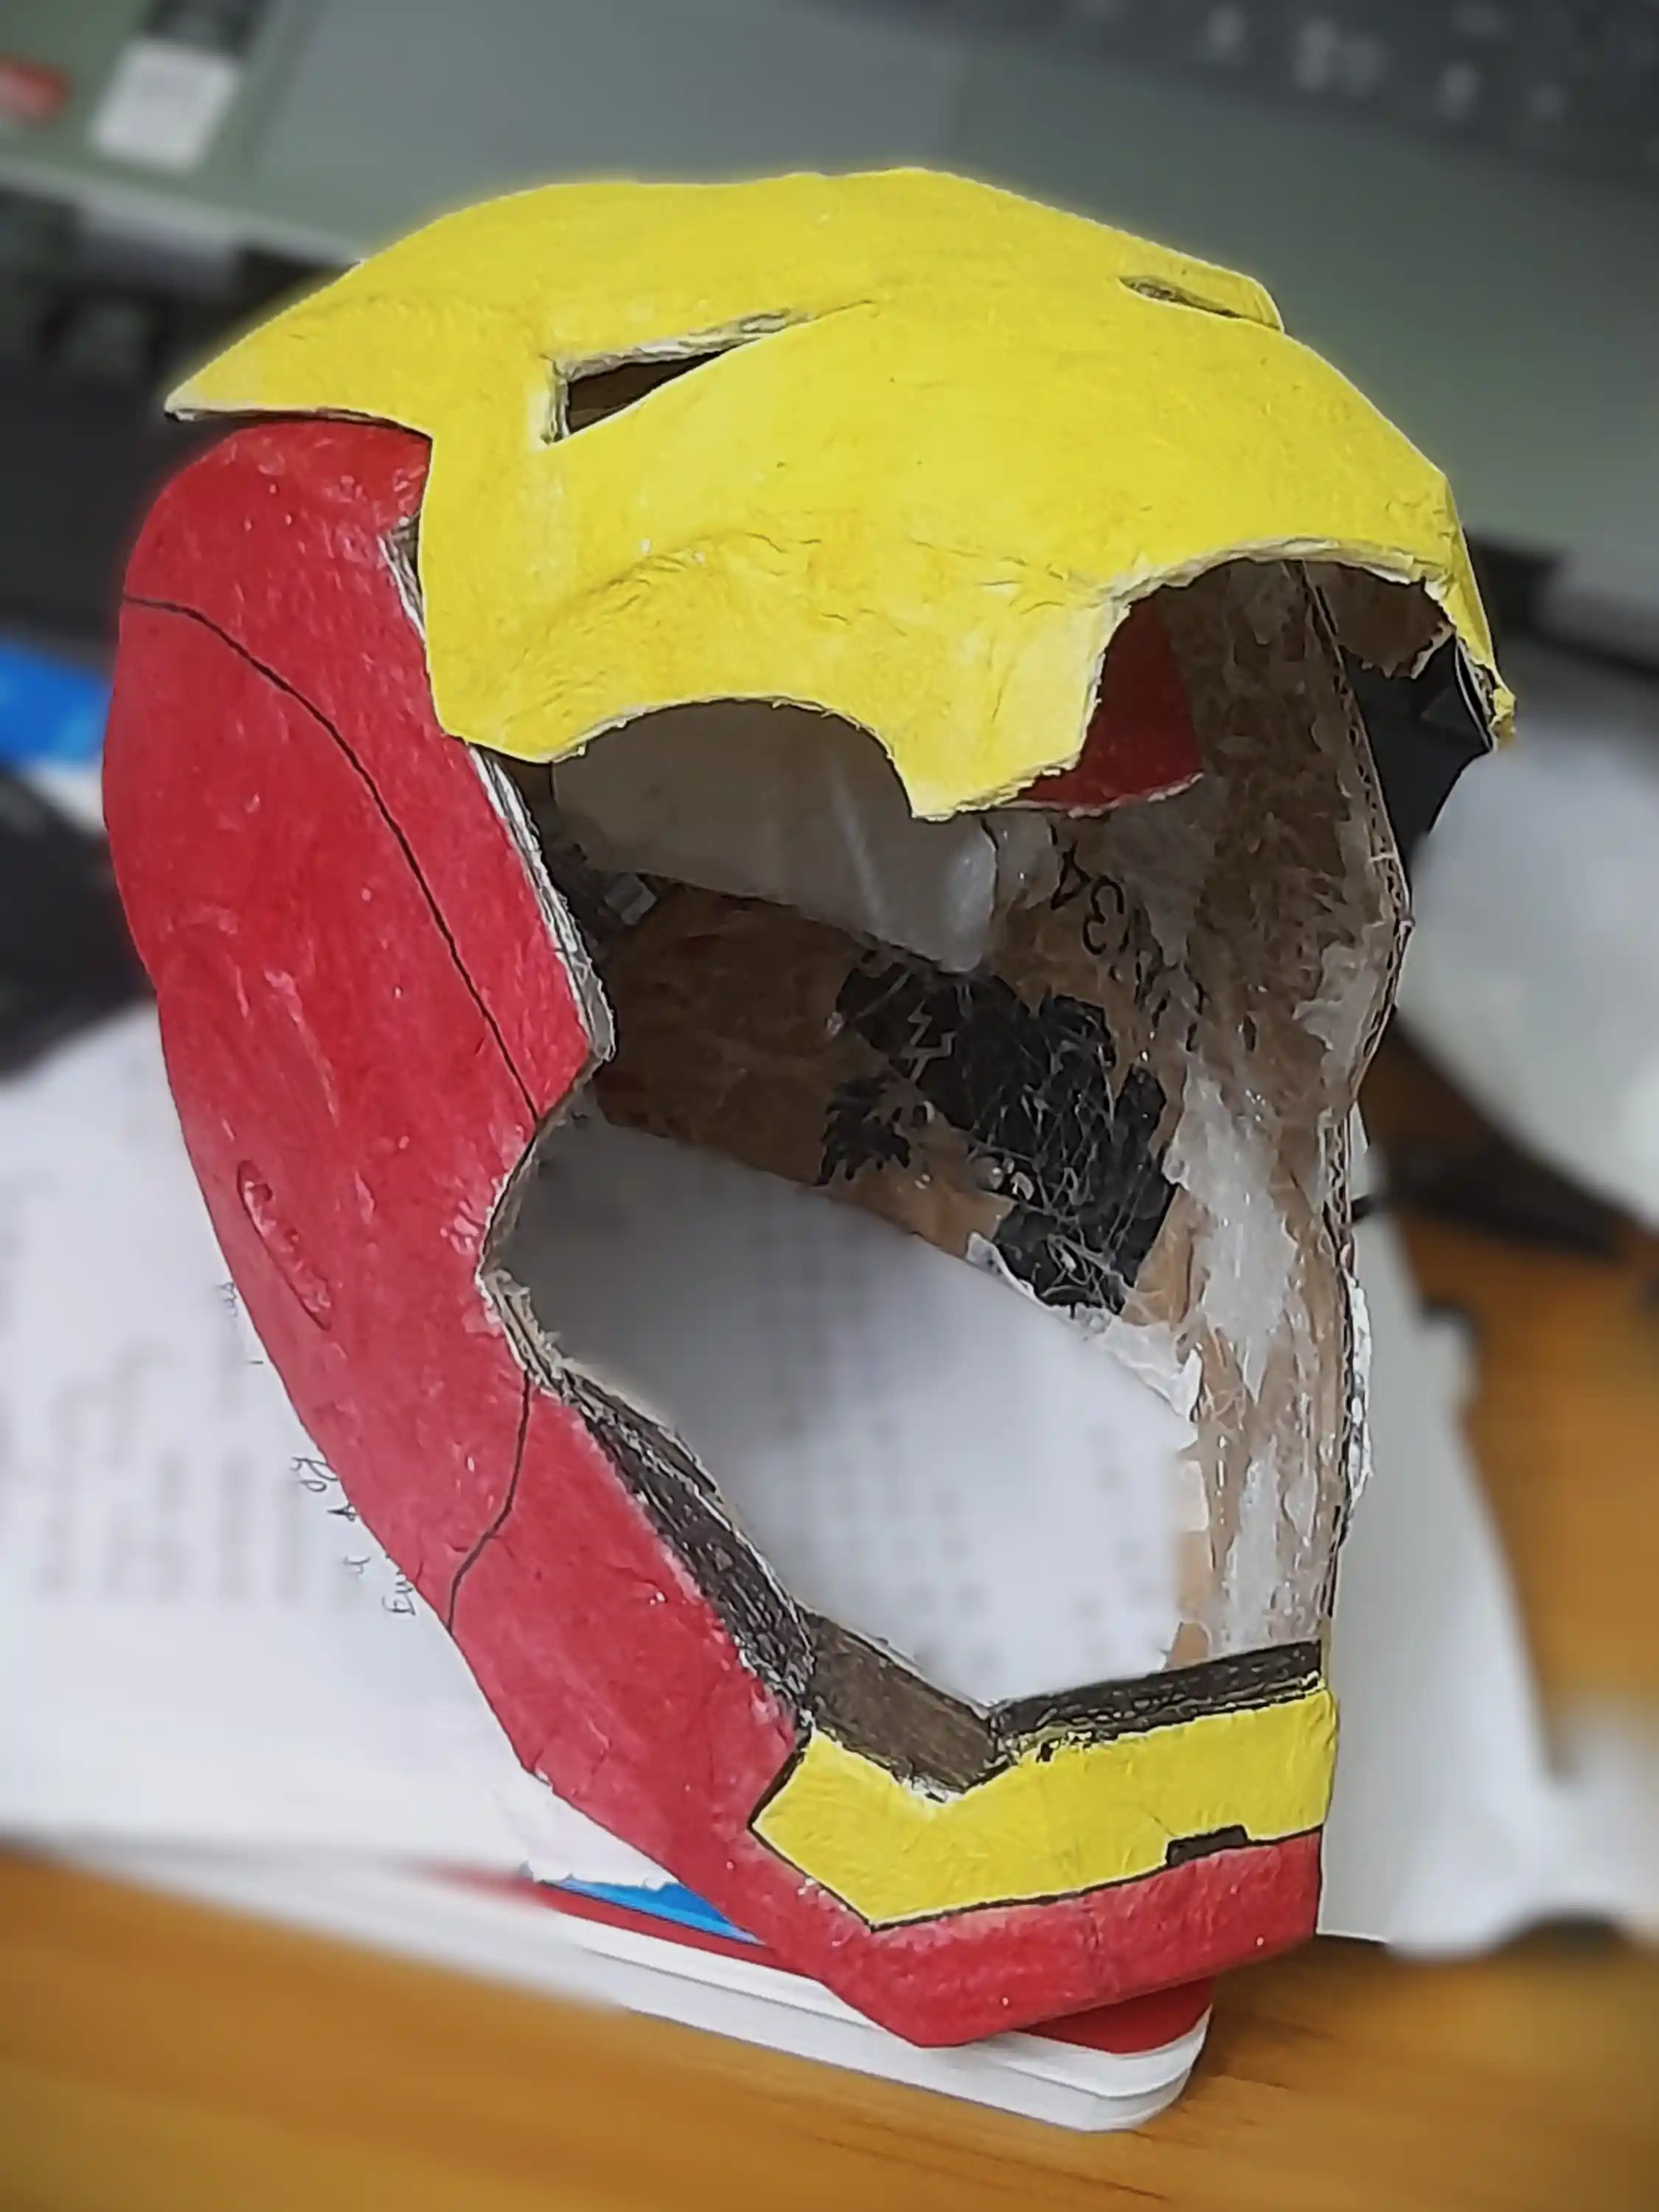
👀 The Result (Pre-paint)
| Front View | Side View | Back View |
|---|---|---|
 |
 |
 |
| Inside View | Cool Shot | And a 360° spin for extra flair |
|---|---|---|
 |
 |
 |
💥 Challenges Faced
- Scale miscalculation – Rookie mistake. Printed at default scale without checking actual head measurements.
- Curving chaos – Some pieces refused to bend. Others curved too much. Cardboard bends… when it feels like it.
- Joint misalignment – Certain edges never met, even though the template said they should. Lies.
- Stability – Flimsy as hell… until the magic step below.
🧪 Fortifying the Beast
To make Mahk-1 less like “Paper Man” and more like Iron Man, I
- Use Hot Glue on the insides to seal 🤐 the edges and make it rigid by layering thin nets.
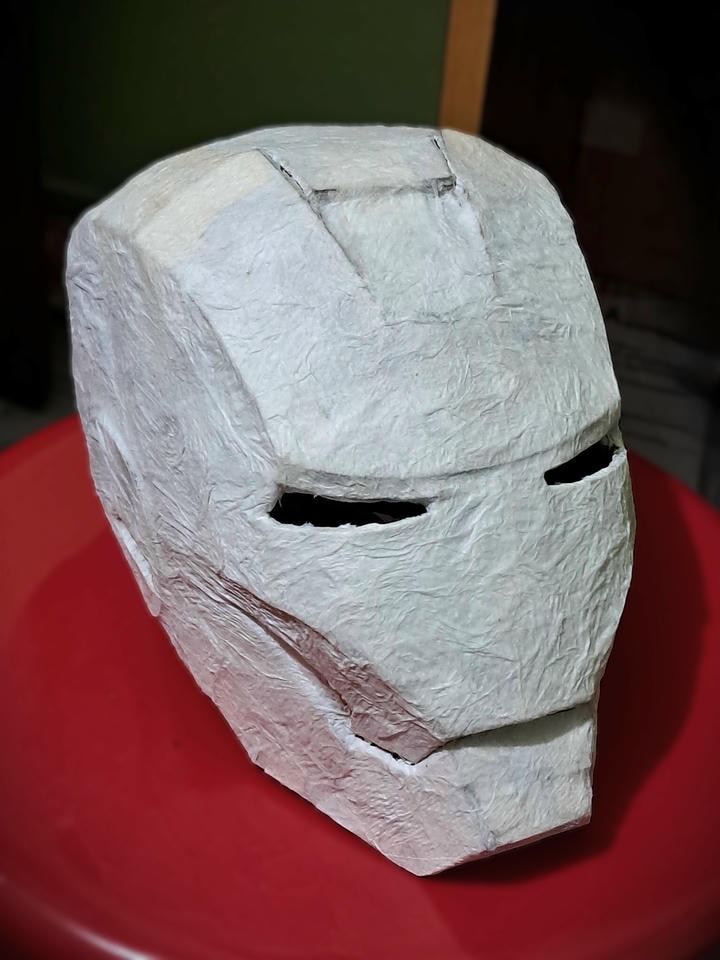
- Slathered it with glue and tissues 🧻 – This adds stiffness, softness, and smoothness.
- Let it dry like homemade pickles under the sun 😋 (36+ hours).
- Colored it quickly for giving it a base color and the feels.
- Cut out the faceplate cuz why not? <!–
- Sanded it down with a 220 grit sandpaper for that smooth Iron finish after a DIY Gesso layer.
- Painted it with hot rod red, gold, and a lil’ black. Classic Stark.
(I used acrylics + sponge dabbling for texture.) - Final varnish coat for the shiny Iron Man look. –>
| Hot Glue Inside | Post-Tissue Front | Base Watercolor |
|---|---|---|
 |
 |
 |
🧠 What I Learned
- Scaling is king. Measure your head first, bro. Seriously.
- Cardboard is stronger than it looks… but only if you respect the fold.
- Templates can be misleading if you don’t interpret them correctly.
- UV unwrapping in 3D to real world is magical ✨ and super useful for cosplay or prototyping.
- Mistakes = prototypes. I call it Mahk-1 like Mk-1, but… with a twist.
🔮 Future Plans
If (and when) I make this again:
- I’ll model my own helmet in Blender from scratch.
- Scale it properly using Blender with measurements of my own head, jaw, nose and neck.
- Maybe use resin and fiberglass for the hardner instead of glue with tissues.
- Use metallic spray paint for a glossy finish.
- Add LEDs eyes, motors for faceplate, and… you know… actual adult-size.
- Add voice commands and touch controls for the faceplate.
- Add a mini-speaker or earphone inside the helmet.
📌 Final Thoughts
Mahk-1 wasn’t what I aimed for.
It was smaller, messier, cuter… but way more educational than I expected.
And that’s what prototypes are for - they don’t have to be perfect. They just need to exist.
So if you’re someone who messes up your first attempt, just slap a “Mahk-1” on it and keep building.
Even Iron Man started in a cave with scraps. You’ve got cardboard and Wi-Fi. You’re already ahead.
Until Mahk-2… stay heroic. 🦾
– Ank